Office 365 for Education
User Scenario:
Setting up a public website with SharePoint
As well as site collections that can be used within your education institution, SharePoint also gives you an option to build a website that can be seen by anybody outside of your institution Office 365 site. You can have one website for each tenancy you have in Office 365.
Cobus van der Graf is a teacher who is also an administrator for his school. He has been asked by his Principal to set up a basic website in SharePoint so that important information is shared with everyone, including parents and caregivers, and so that the public can find out a little more about the school.
Cobus logs into Office 365 and goes to the Admin tab at the top right side of his Office 365 dashboard. From the drop-down menu he selects SharePoint and his SharePoint Admin centre screen opens up.
- Cobus clicks on the Website link. It is the link above the site collections.
- The Website page opens upon his screen. He reads the notes on the screen and starts to think about what information and content he might put on his institution’s site.
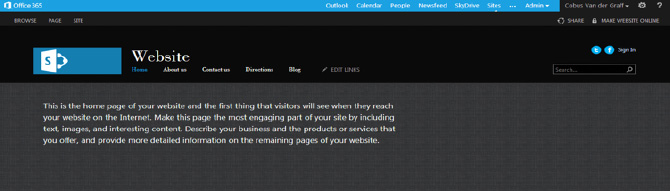
- He hovers on the tabs at the top of the screen. Clicking on them reveals suggestions for content in each of the five tabs that load the Home, About Us, Contact Us, Directions and Blog website pages.
- Cobus is already starting to get some ideas for the new website. He looks at some of the other functions before starting to build it.
- In the top right corner of the screen, he sees the options for sharing his site with other users and for making the website public by publishing it online.
- There are also Social Media Plugins for Twitter and Facebook. These let people viewing the website go directly to the institution’s own Twitter feed and Facebook page.
- The tabs at the top left side of the page for Page and Site enable Cobus to access the editing functions of each of the website pages. Selecting Browse returns him to the Home screen.
- The Edit Links ‘pencil’ icon after Blog in the Website tabs bar allows Cobus to add more tabs to the tabs bar, and therefore, more pages to the website.
Building the Website
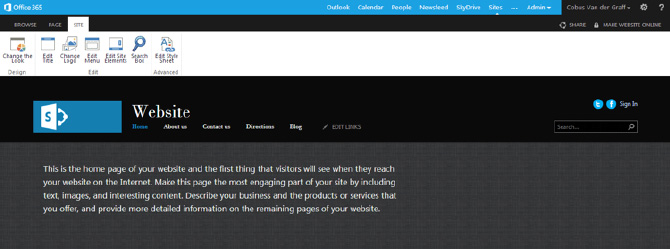
- Cobus is now ready to begin work on the website. He clicks on the Site tab at the top of the screen. This takes him to the toolbar that enables him to change the website appearance.
- Hovering over these functions reveals an explanation for each. Cobus quickly starts to understand how the site can be built. He clicks on Change the Look.
- A selection of templates to choose from appears. Cobus browses the available selection and clicks on his choice. He is then able to change the colour scheme, page layout and fonts from the options on the left of his screen.
- Cobus can try out his new design changes before saving and applying them to his site, by clicking on Try it out on the right of the screen.
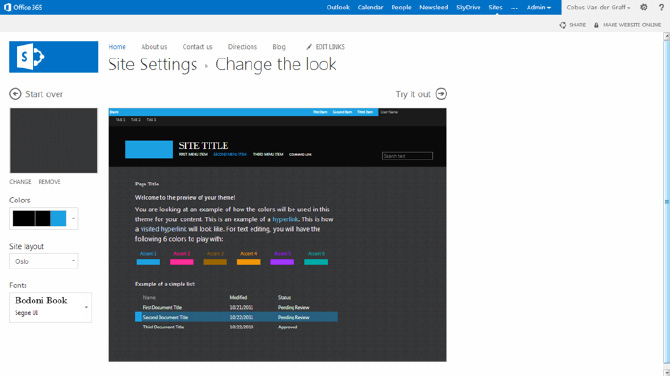
- Cobus explores the different options. He eventually comes up with a design he is happy with and then clicks on Try It Out one more time. When the new design loads, he clicks on the Yes, Keep It option to the right of the screen. His freshly designed site then loads on his screen.
- He clicks on the Site tab again to continue editing his website.
- Cobus then clicks on Edit Title and adds the name of the institution.
- He continues to work his way through the site editing toolbar options, adding the school logo and a footer message containing the school motto. He leaves the advanced functions until he feels a little more confident in using SharePoint.
- Cobus now returns to the website Home page using the Browse tab at the top left of the screen. He clicks on the Page tab next.
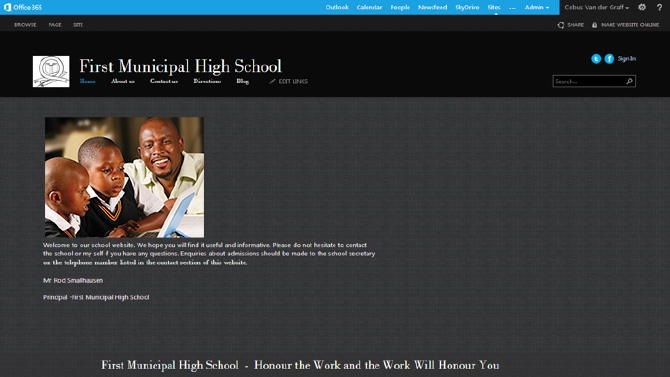
- This reveals a toolbar that he can use to edit the elements on the page that he is busy working on. As he was on the Home page when he selected the Page tab, he is now able to edit the text on this page as well as the footer, which will appear on every page on this website.
- He deletes the suggestions text from the content box and types a welcome message from the school principal, also adding a picture of the school to go with the message. His Home page now looks like this:
- Cobus now works his way through the pages using the tabs for About Us, Contact Us and Directions.
- He uses the Page tab toolbar to edit these pages, inserting the content onto each of the different pages.
- Cobus is now realising that designing the site is really not that complicated and is just a case of following instructions and taking the time to explore and experiment.
- Having completed all of the school information tab pages, Cobus clicks on the Blog tab. This takes him to the website blog. The page looks like this:
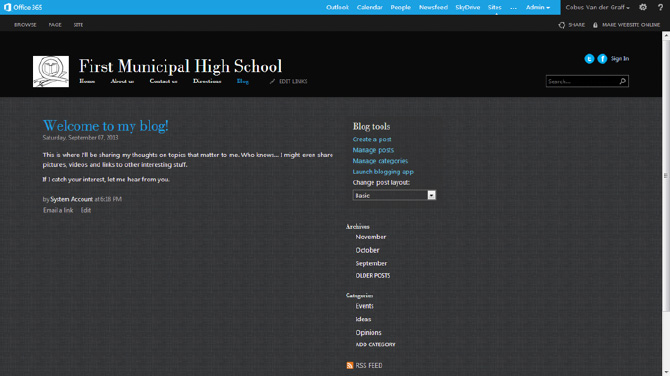
- The blog is a space that is easy to edit and where news items, photographs and other interesting stories about the life of the school can be published.
- Cobus works his way through the blog tools on the right side of the page. He creates an introductory blog post asking for everybody in the school to contribute items for the school blog and then clicks on the Publish button at the bottom of the page. His blog post then appears in the Edit screen.
- On the site homepage, Cobus realises that he can link the school Twitter and Facebook accounts to the icons on the page. He clicks on Edit Site Elements in the Site toolbar and a window appears with instructions on how to add both Twitter and Facebook addresses. When this information is saved, clicking on the icons will take users directly to Twitter and Facebook
- Both of these are Social Media platforms. They are an excellent way to communicate with people who are interested or involved with your institution. Twitter is a micro-blogging site with an instant messaging service. Facebook is where you can showcase your establishment to users.
- Instructions on how to set up accounts for Facebook and Twitter can be found by going to their web home pages, www.facebook.com and www.twitter.com
- Cobus is now ready to make the website visible to the public. This is called publishing.
- He clicks on Make Website Online at the top right of the page. The following screen appears:
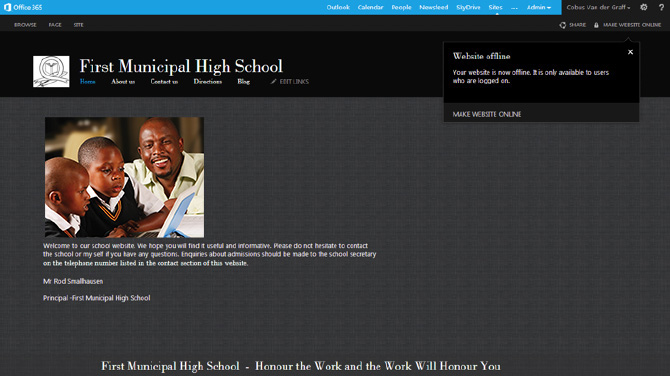
- A warning box appears on his screen and Cobus clicks Make Website Online. The website is now published and anybody can now find it on the internet. Cobus sends an email to the school office administrator asking her to include a link to the website in the next school newsletter.
SharePoint Guides - Further Reading
Setting up Sharepoint» Setup guide for SharePoint for Education
» Scenario: Setting up a public website
» Scenario: Creating a subsite
Download the full guide
Using SharePoint in education
» Setting up a personal SharePoint site
» Scenario: Using the Survey App
» Scenario: Using a team site in SharePoint
» Scenario: Setting up a student site
» Scenario: Class projects & assignment submission
Download the full guide