Tip Sheets
MovieMaker
Create a Movie
Pull-down menu: to the left of the Home tab in the upper left corner
Ribbon toolbar: stretches across the entire Movie Maker window
Preview window: the large black window
Storyboard: the large area to the right of the preview window
Playback controls: below the preview window
Zoom time scale: the slider control in the lower right corner

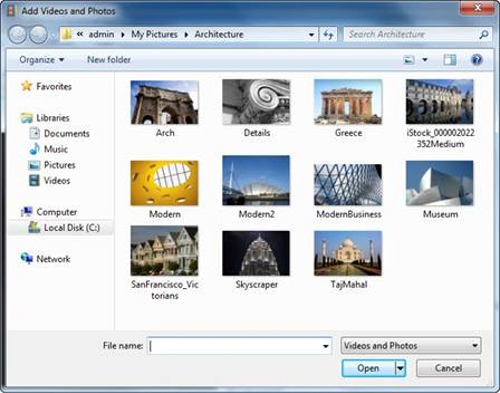
- Click on the Add videos and photos icon
- Browse to the videos and/or photos you wish to add.
When adding videos and photos, you can add multiple files at once by holding the CTRL or SHIFT keys to select multiple files, and then clicking the Open button.
- Save your work. Use the pull-down menu on the left and select Save project to save your movie.
- Play your movie. To play your movie, you can either press the Play button or press the SPACEBAR (pressing the SPACEBAR again stops playback).
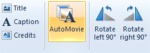
- AutoMovie
AutoMovie is the simplest way to add “wow” to your content. Once your photos and videos are in your project, clicking the AutoMovie icon on the Home tab automatically adds crossfade transitions, automatic pan-and-zoom effects, a title and credit slide, and it asks you if you want to add a soundtrack. If you click yes, AutoMovie automatically fits your content to your music.