Tip Sheets
AutoCollage
» Start AutoCollage
» Select the photo folder
» Create the collage
» Review the collage
» Crop an image in Microsoft Office Picture Manager
» Save the collage
Start AutoCollage
- Click on the Start button
- Click on All Programs
- Scroll to Microsoft Research Autocollage 2008
- Click on Microsoft Research Autocollage 2008 in the submenu that appears
Select the photo folder
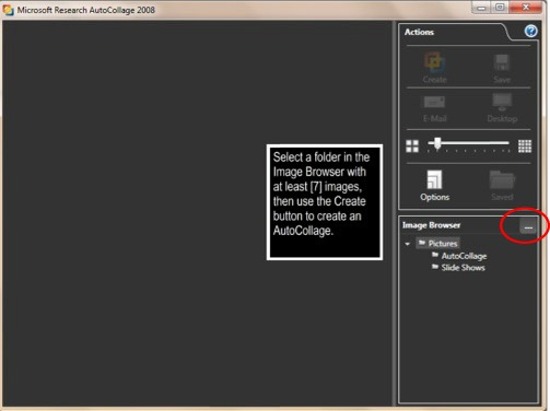
- Click on the ... box in the top right of the Image browser (see red circle below) and select the folder which contains the images.
Note that it is advisable to place the images for each collage in a separate image folder before selecting the folder.
Create the collage
- First use the slider to select how many photos you want in your collage (1 below).
- Then click on the Create button (2 below).

Review the collage
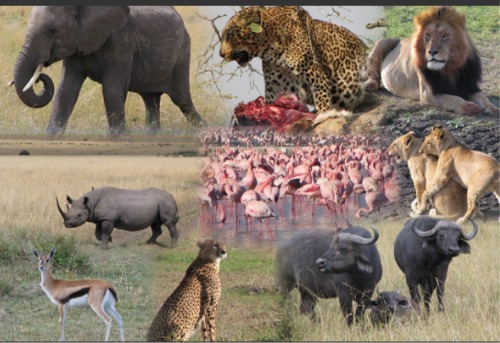
- Review the resulting collage. In the example below the top of the elephant is cut off (so you will want to create a new collage. Secondly the rhinoceros is too small (so we will crop the original image to make the rhino appear larger in the photo.
Crop an image in Microsoft Office Picture Manager
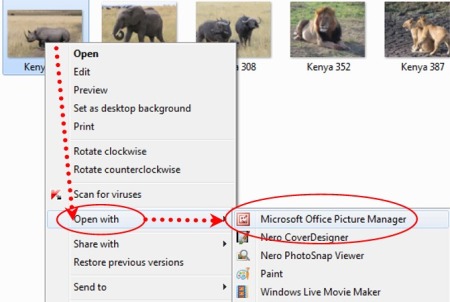
- Browse to the image file. Open the picture in Picture Manager by right clicking on the image and selecting Open with and Microsoft Office Picture Manager
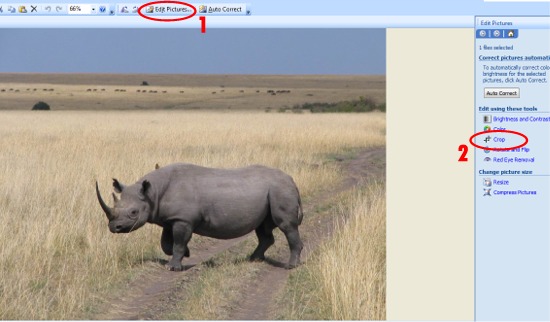
- Click on Edit Pictures and then click on Crop
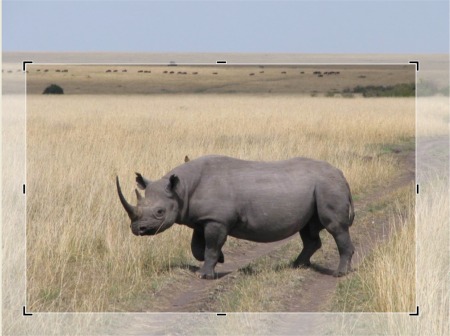
- Crop the image by clicking and dragging the outside boundaries inward until you have the cropped area selected. Click on OK. Save the file by clicking on the Save icon.
- Now start a new collage and reselect the folder and click Create.
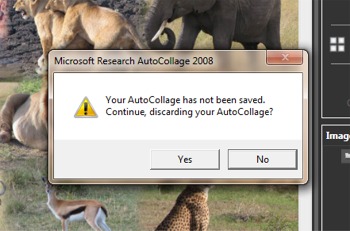
Note that after you edit an image you should reselect the image folder. If you re-create a collage immediately after reviewing the result you will see a confirmation screen asking whether you wish to save or discard the first attempt (see below)
Save the collage
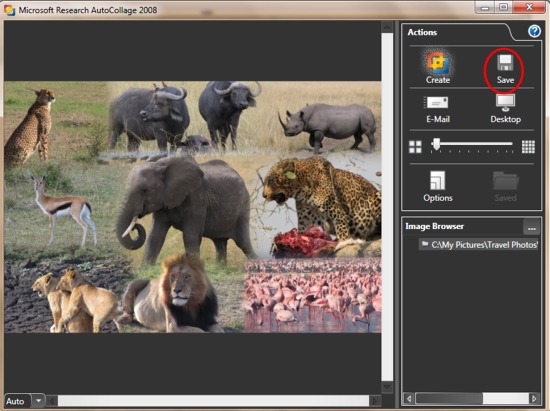
- Click on the Save button.
