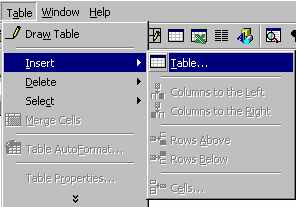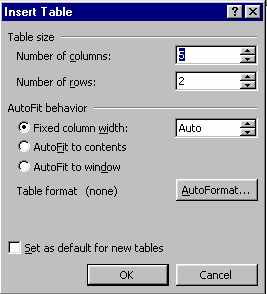
Choose the number of rows and columns you wish to have.
Click on OK

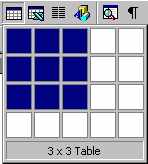
2. Click on the Table icon

Drag your mouse over the
pop-up table to indicate how many rows and columns you want.
Click on the mouse button when you have made the selection.
Column width is adjusted by placing your mouse pointer on
the line separating two columns. You will then see a two
sided arrow appear. Press the left hand mouse button and
drag the line to the left or right.
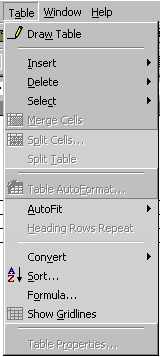
Use the table menu to format the appearance of the Table.
Remember to first select the cells which you wish to edit
in some way. Then
Click on the Table
Menu
Click on the double down arrow at the bottom
of the menu
and select the option such as Merge
Cells (join) and Split Cells,
Insert Cells or Delete
Cells (adding or removing a row or column)
The Table AutoFormat option
allows you to choose a "look" for your table in
terms of line styles and shading.
