By the end of this topic you should be able to create borders in Microsoft Excel.
By default, cells in Microsoft Excel do not have borders. This means that when you print from Microsoft Excel, the data will be printed without any seperating lines. Borders for cells, or cell ranges, can be created and edited.
To create a border for a group of cells:
| 1. |
Select the cells.

|
| 2. |
Click Format | Cells... on the Menu bar.

This will open the Format Cells dialog box. |
| 3. |
Click the Border tab.

|
| 4. |
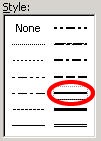
Select the required line style from the Style box.
|
| 5. |
If you want to change the color of the borders, select a color from the Color drop-down list.

|
| 6. |
Select a border style from the Preset and Border selections.
. 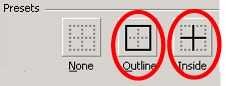
- Outline - adds a border to the outline of the selected cells.

- Inside - adds borders to the cells in the selection, but not to the outline.
|
Did You Know?
You can use the None button in the Preset section to remove borders. |
|
| 7. |
Click the  button. button.
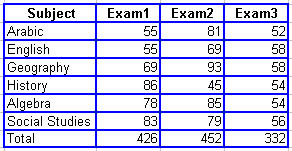
The selected border options will be applied to the cells (Here we have selected the Outline and Inside Presets).
|
Note:
You can also use the Borders  icon on the Formatting toolbar. Select a border type from the drop-down list. The line style and the color will be automatically selected by Microsoft Excel. icon on the Formatting toolbar. Select a border type from the drop-down list. The line style and the color will be automatically selected by Microsoft Excel. |
|